
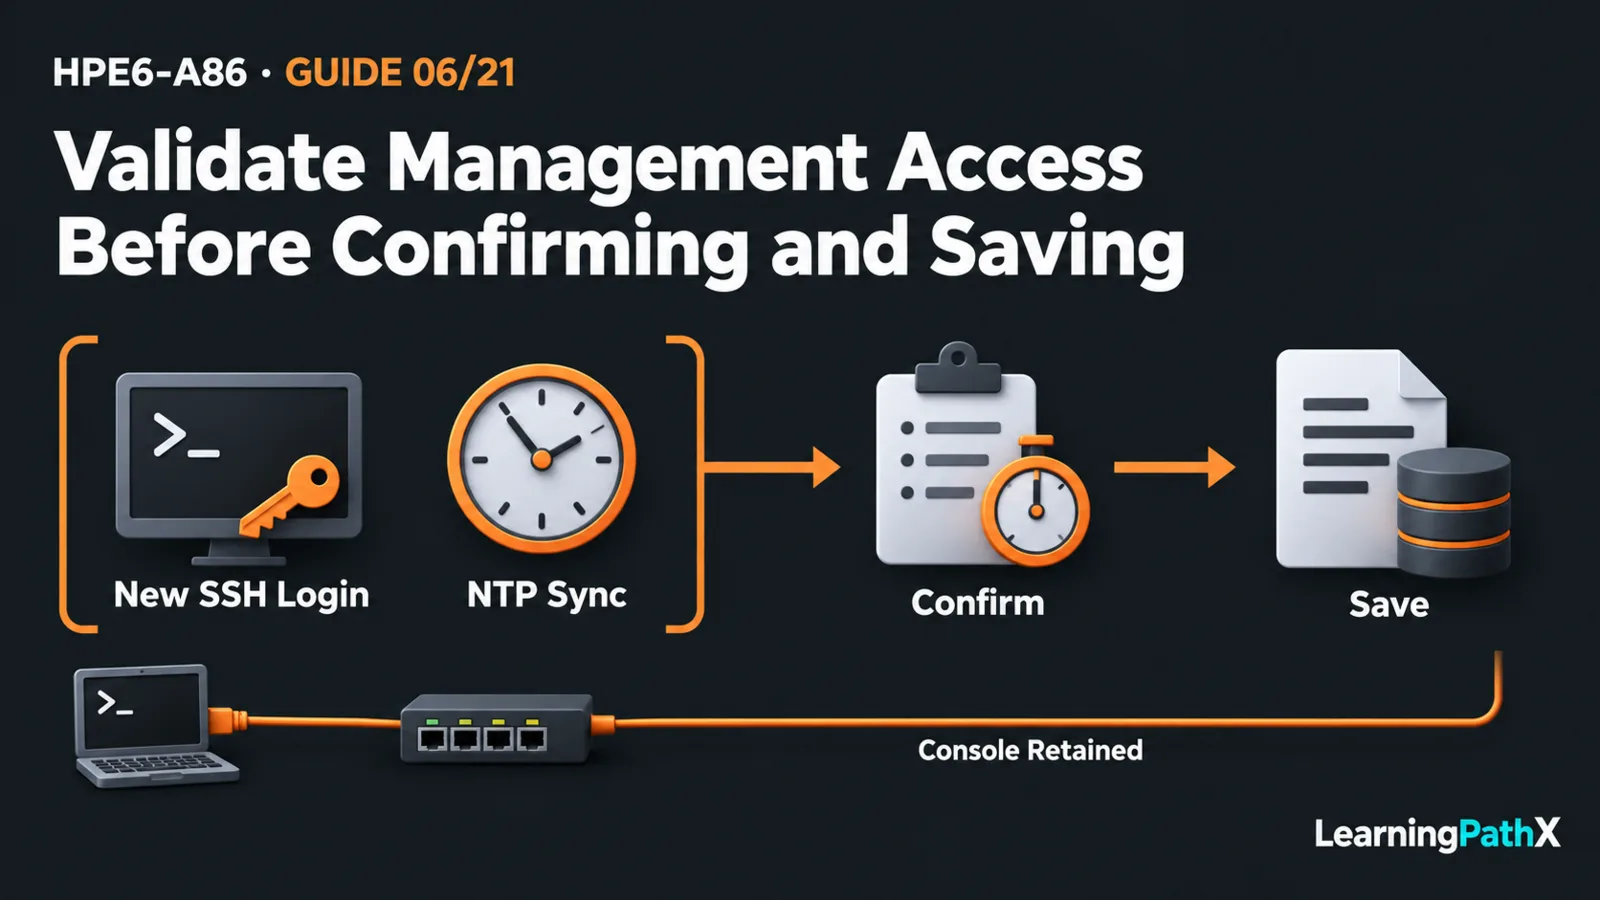
Commission an AOS-CX switch through a retained console connection: establish administrator credentials, configure the intended management address and virtual routing and forwarding (VRF) context, explicitly enable Secure Shell (SSH), validate a separate login and time synchronization, and only then save the accepted configuration. Preserve a recovery path throughout. A successful command is not proof that a new session works or that the configuration will survive a restart.
This procedure uses a standalone CX 6300 running AOS-CX 10.13 on an isolated management network. It illustrates initial configuration and secure management access, not an executed deployment. Do not apply it blindly to an existing managed switch: first establish configuration ownership, current settings, authorized access and an approved recovery plan. It does not configure user-network forwarding or cloud onboarding.
Architecture Overview: Separate the Access Paths
The console supplies local access independent of the Ethernet management path. The dedicated management port uses the management VRF, named mgmt; in-band management through a data interface is a different design. An address, route or service in another context does not establish reachability through mgmt.
Retain the working console while proving network management. In this example, reserve Internet Protocol version 4 (IPv4) address 192.0.2.10/24, gateway 192.0.2.1 and an authorized time server at 192.0.2.123. They are illustrative values for an isolated lab; substitute a validated address plan. The management workstation must have a valid path to the switch, with any required return routing and permitted management traffic.
Establish Console Access and Credentials
Use a correctly installed switch, a computer with terminal-emulation software and the supported USB-C console connection. For the documented factory console settings, select 115200 bits per second, eight data bits, one stop bit, no parity and no flow control. Start the serial session and press Enter. If the device uses changed console settings, establish those settings rather than changing the switch blindly.
The documented factory first login uses the admin account and prompts for a new password. Set a strong unique password through that interactive process and protect it using the organization's credential handling method. Do not place a real password in a shared transcript. An already configured device must use its authorized credentials; do not reset it merely because the example starts from factory state.
Confirm the device identity and software release before continuing. Record the starting running configuration and retain the console session. Make sure this is the intended standalone workflow rather than a device whose configuration is owned by Aruba Central or another approved management system.
Stage a Recoverable Management Configuration
The following commands are documented command forms with original example values. Prompts show command contexts, not observed output. Run them only on the isolated switch after its administrator credentials and the recovery console work.
Start an automatic checkpoint from manager context before changing management settings:
switch# checkpoint auto 10
The interval is in minutes. If it expires without confirmation, the switch restores the running configuration captured before automatic checkpoint mode. Choose an interval that fits the planned verification; do not treat the timer as a substitute for console access.
Configure the example identity, dedicated management interface and SSH listener:
switch# config
switch(config)# hostname lab-cx-01
lab-cx-01(config)# interface mgmt
lab-cx-01(config-if-mgmt)# no shutdown
lab-cx-01(config-if-mgmt)# ip static 192.0.2.10/24
lab-cx-01(config-if-mgmt)# default-gateway 192.0.2.1
lab-cx-01(config-if-mgmt)# exit
lab-cx-01(config)# ssh server vrf mgmt
The management-interface gateway is not a user-network static route. Likewise, ssh server vrf mgmt explicitly selects the listener's context; it does not prove that the workstation can reach it. Keep service scope deliberate rather than enabling access in every VRF to resolve an unexplained failure.
Configure and Observe Time Synchronization
Use an approved Network Time Protocol (NTP) server reachable through the selected context. An address-based server avoids a name-resolution dependency in this bounded example:
lab-cx-01(config)# ntp vrf mgmt
lab-cx-01(config)# ntp server 192.0.2.123 iburst
lab-cx-01(config)# ntp enable
lab-cx-01(config)# end
This is a basic trusted-lab client example. A production design must apply its time-source and authentication policy; it should not inherit an unauthenticated example as its security standard. Consistent time makes observations from different systems easier to correlate, but a configured server does not establish synchronization.
Validate Before Confirming or Saving
From manager context, collect these observations while the console remains available:
lab-cx-01# show interface mgmt
lab-cx-01# show ssh server vrf mgmt
lab-cx-01# show ssh host-key
lab-cx-01# show ntp associations
lab-cx-01# show ntp status
lab-cx-01# show running-config
Check the management interface's state, address, prefix and gateway against the plan. Check the SSH server in mgmt, rather than interpreting a default-context display as evidence about another VRF. Use the console-obtained host-key information to verify the switch's identity through your SSH client's trusted verification process; do not blindly accept an unexpected replacement key.
Open a separate SSH session from the authorized management workstation to the configured address. Prove that the intended account can log in and perform its required observation without closing the console. If that fails, compare addressing, return path, service context and credentials separately. Do not disable protections or change several variables at once.
For NTP, inspect association and synchronization status, not just configuration text. Wait for actual synchronization evidence. No successful session, association or command result is asserted here; these are acceptance checks for the reader to perform.
Confirm, Persist or Recover
If all planned acceptance checks pass before the timer expires, confirm the automatic checkpoint and separately save the running configuration to startup configuration:
lab-cx-01# checkpoint auto confirm
lab-cx-01# copy running-config startup-config
lab-cx-01# show startup-config
Checkpoint confirmation and startup persistence are separate actions. Review the saved management settings against the accepted running state. A controlled restart can test persistence in an isolated lab or authorized maintenance window; do not restart a production switch solely to finish this example.
If acceptance fails, do not confirm or save the proposed state. Keep the console and allow the unconfirmed checkpoint to restore the prior running configuration. If restoration starts, stop adding configuration until it completes, then verify the recovered baseline and access. This example creates the checkpoint after establishing credentials, so recovery returns to that known credential state. Avoid factory erasure as a routine rollback technique.
Common Mistakes and Conclusion
The main mistakes are testing the wrong VRF, trusting an existing session instead of opening a new one, confusing an NTP server entry with synchronization, and assuming that running changes are already persistent. Treat console recovery, independent login, time evidence and saved state as four separate acceptance results. That produces a usable commissioned switch while keeping a clear way back when a management change fails.
Authoritative Sources
- AOS-CX 10.13 Fundamentals Guide
- AOS-CX 10.13 Security Guide
- Aruba Central integration for AOS-CX 10.13